'A Fools Guide to Analogue Photography' by Ramji Rangarajan (Ram)

Prologue
So, if you got inspired hearing these updates or got excited to start film photography to give it a try and indulge yourself in something different yet so interesting, I can guarantee you it’s worth the time and effort and the results are very much rewarding.
Having shot digital for almost two decades now, switching to film photography has been for me the most gratifying experience. However, let me warn you, as much as it all seems fun, film photography game is heavily demanding at best and requires a lot of creative energy and patience left in you when you are at the outset of its learning curve. And eventually, once you get the hang of it, you will find yourself at the juncture of a new way of thinking and with that a new world of possibilities shall emerge. #filmisnotdead
Film Photography 101
It all begins with a film camera and a film stock, or some may call it simply a film roll.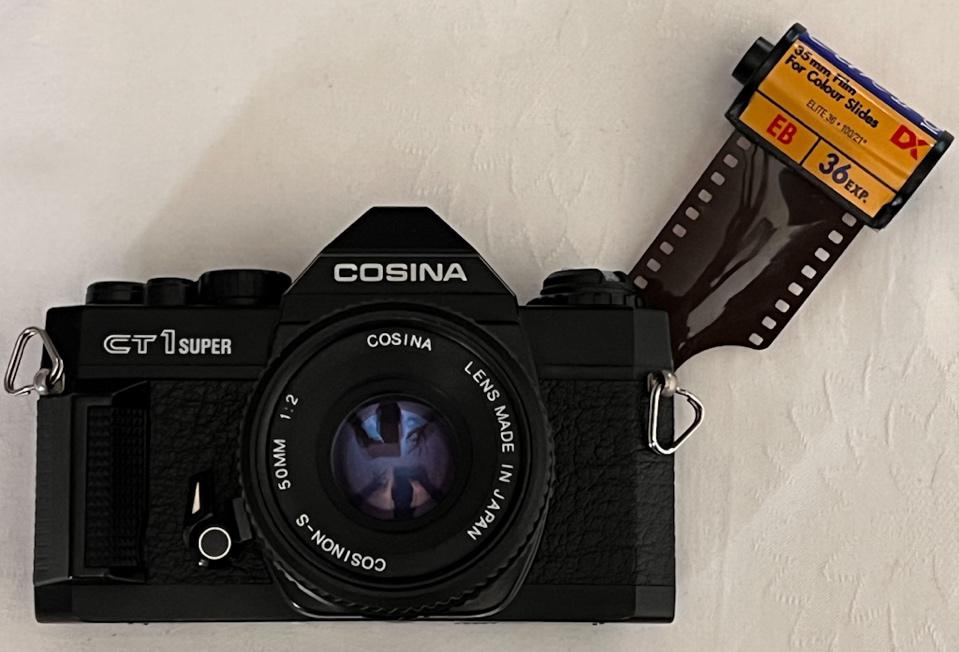
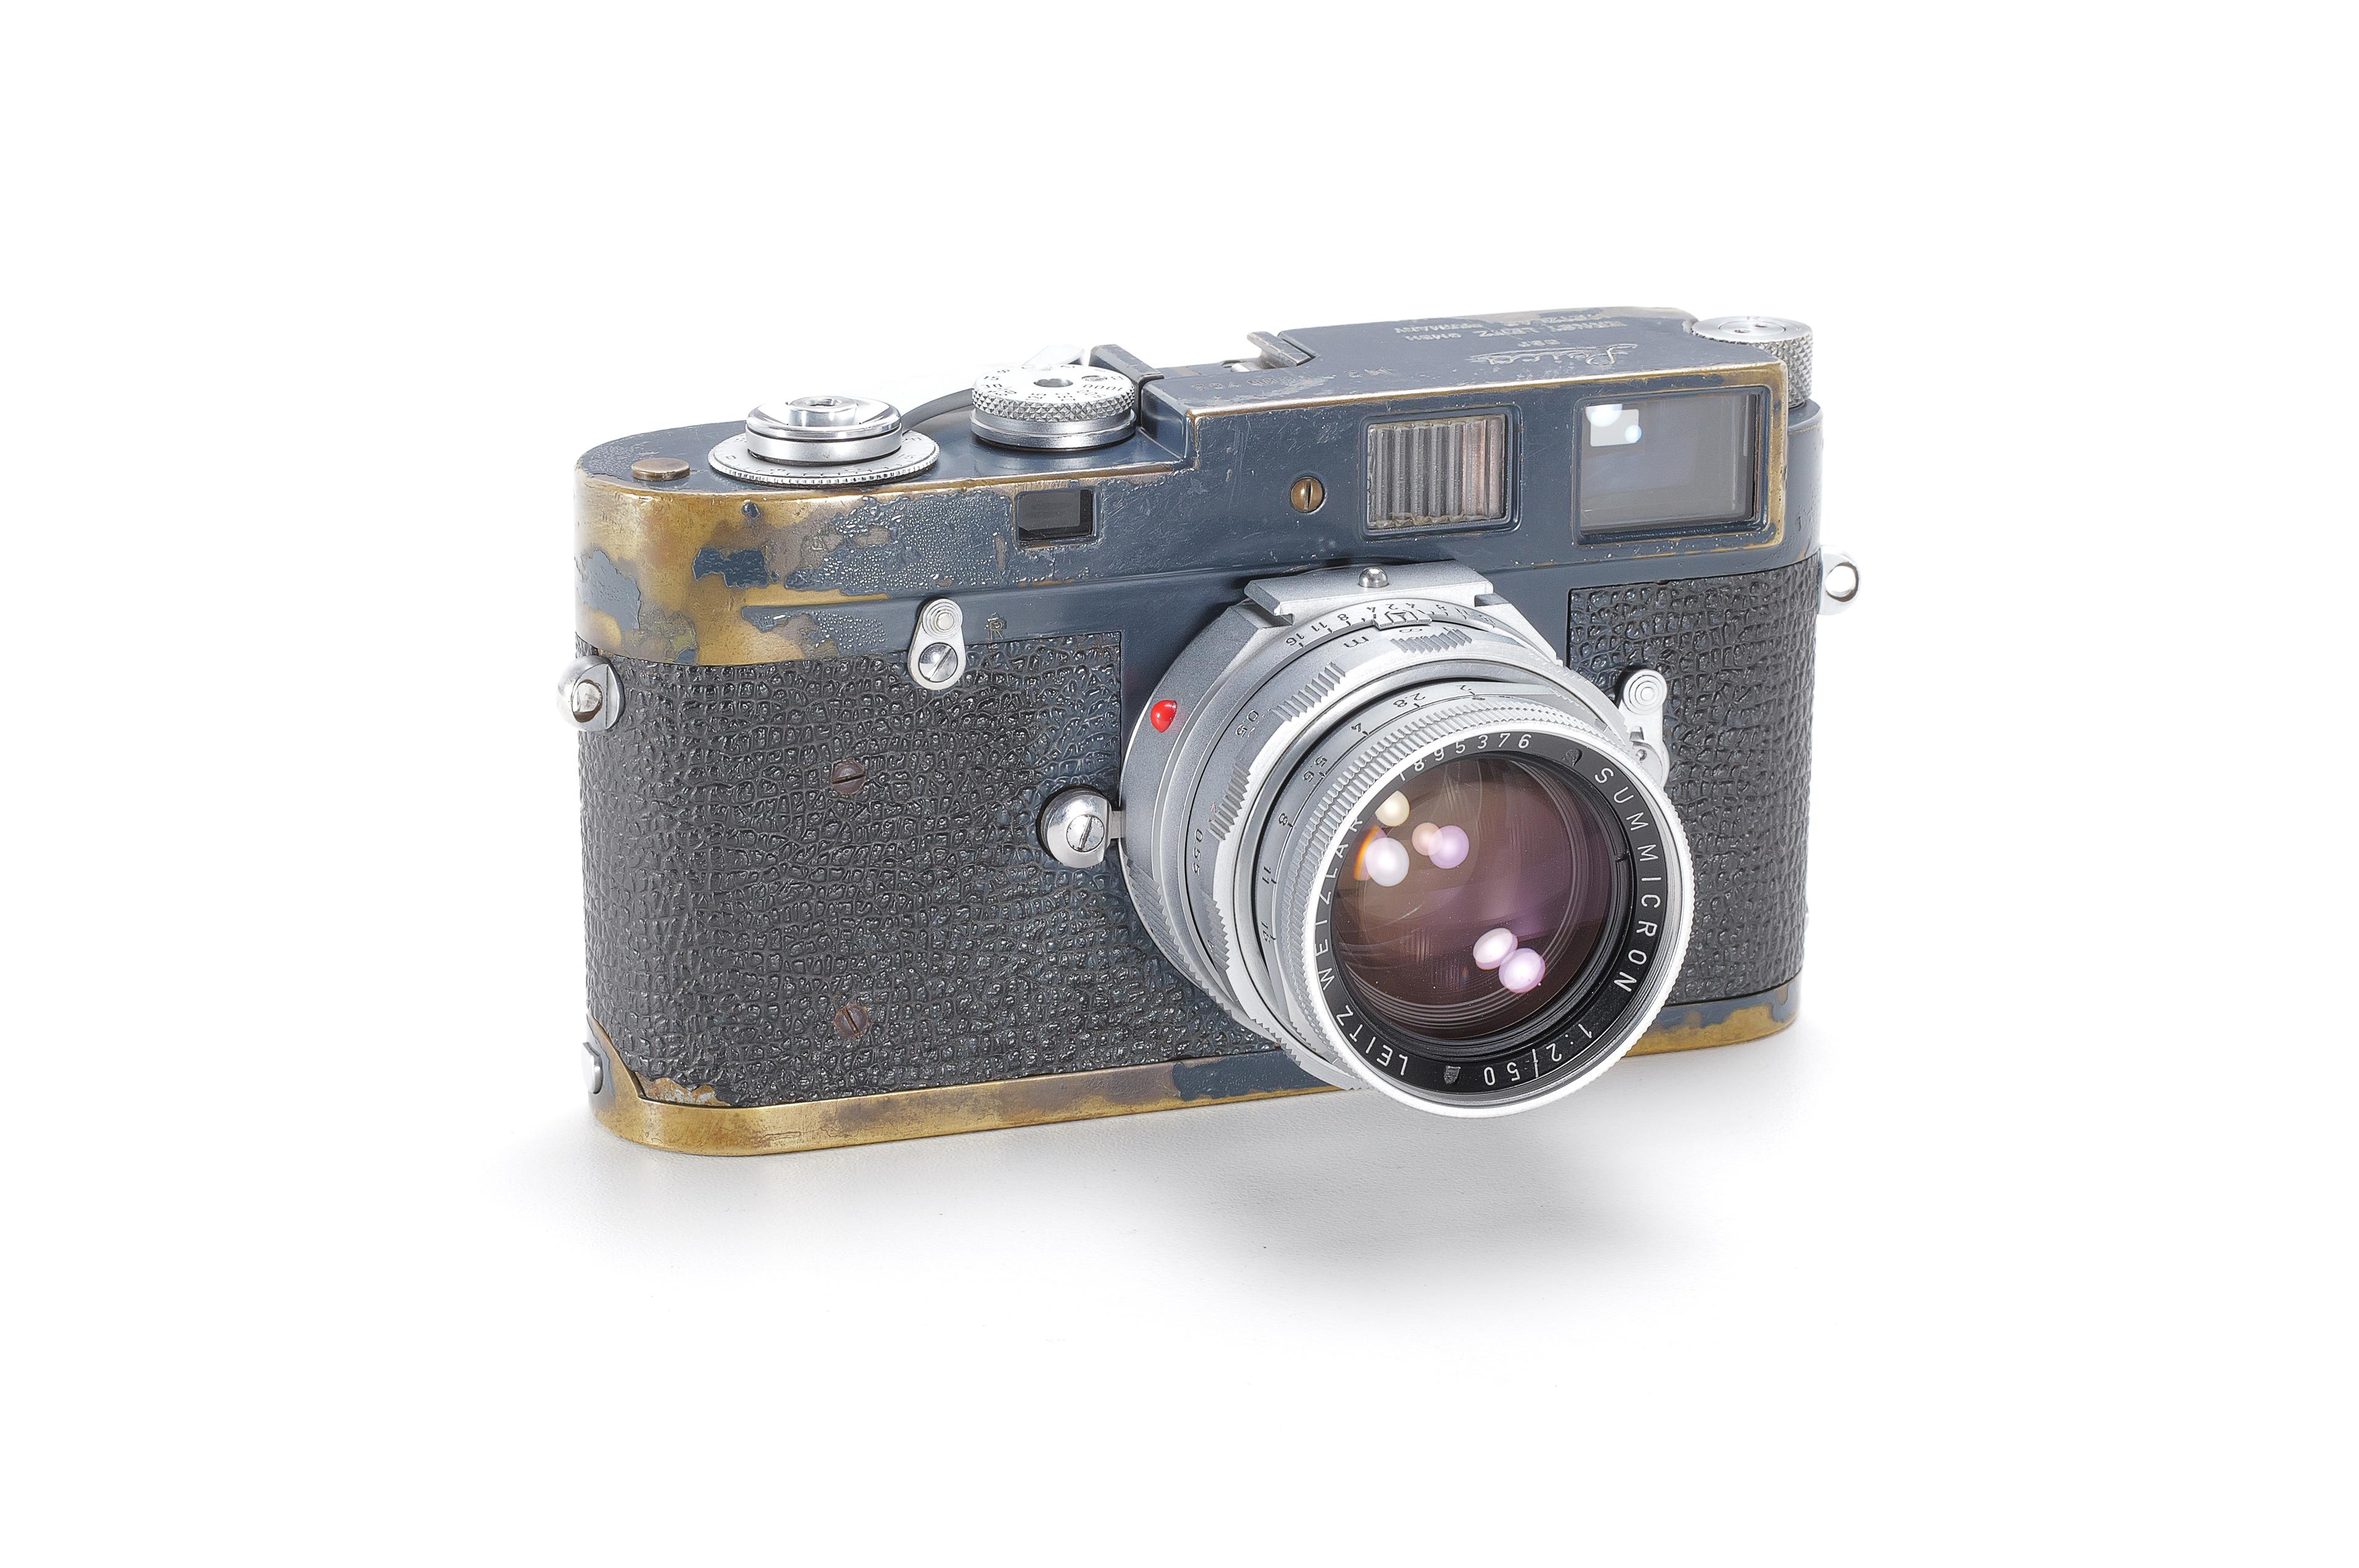
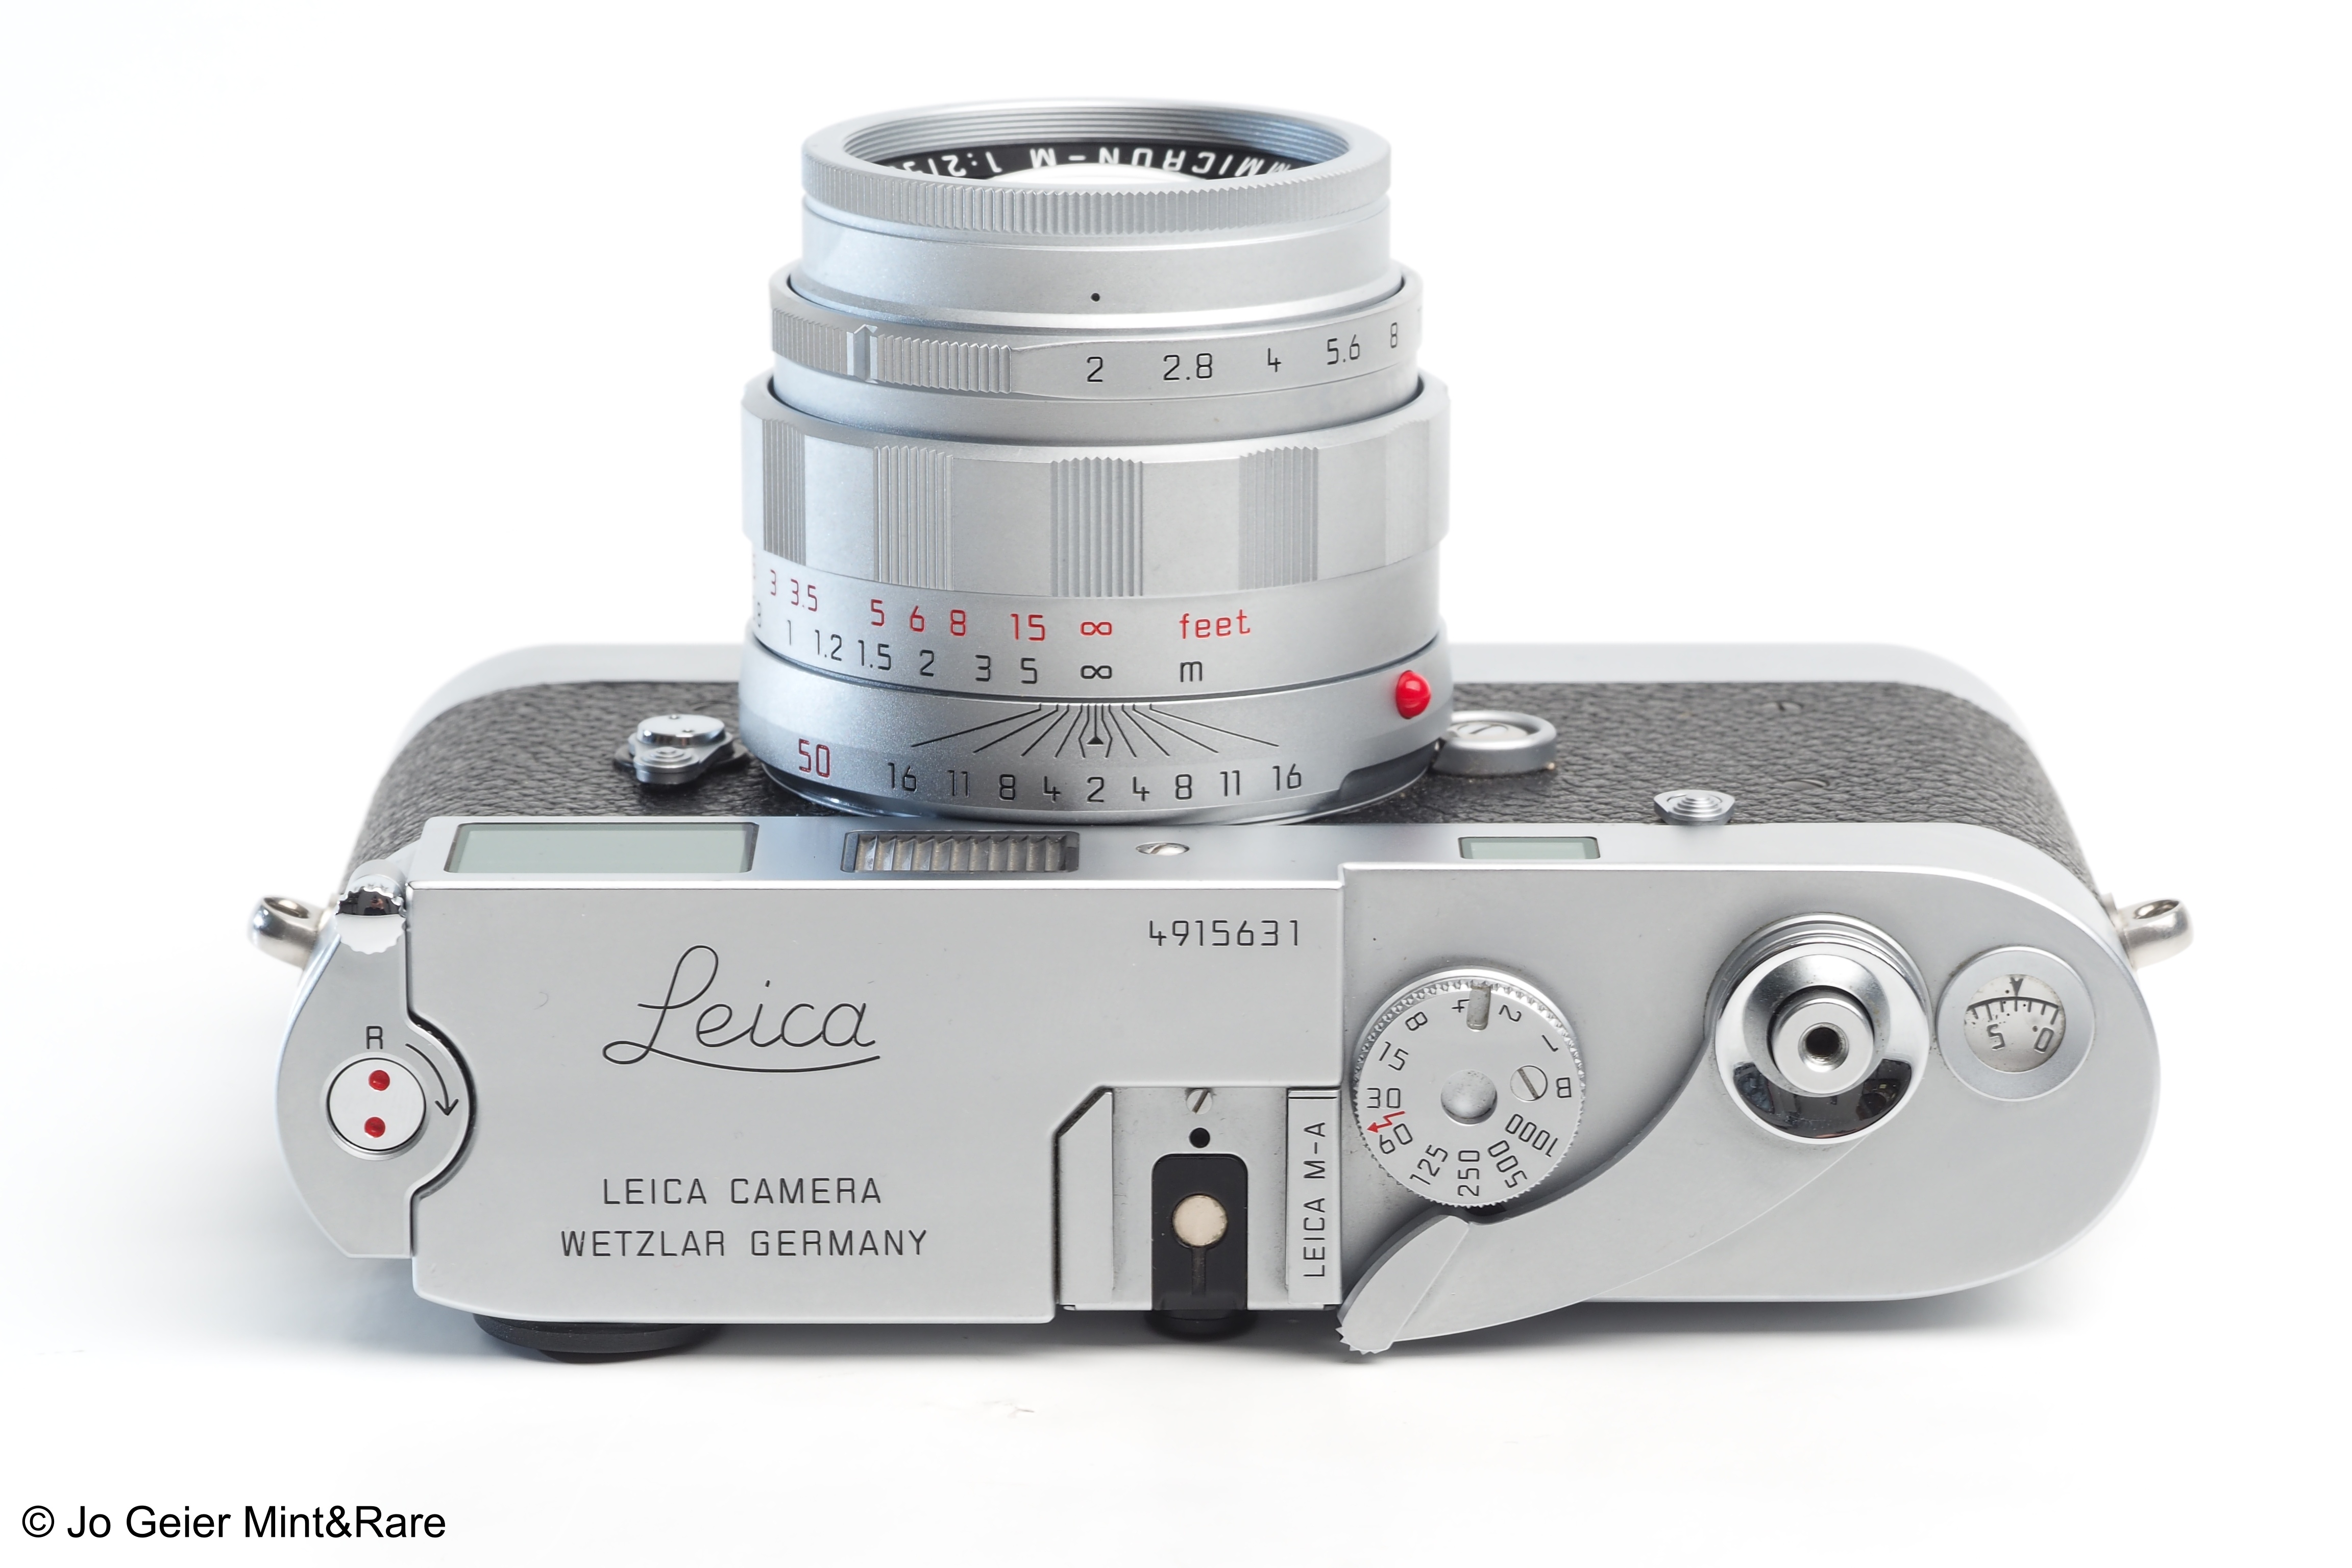
Film Cameras
A film camera is a type of camera that allows you to load it with a film roll and provides you the means to set the various parameters that you need to take the photograph. There are various film camera types for beginners to choose from. Some of the most common ones are
> Point and Shoot
> Single Lens Reflex (SLR)
> Rangefinders
> Twin Lens Reflex (TLR)
> Large format
For the sake of this guide, to make the switch from digital to film photography seamless, it is recommended to start with a Point and Shoot film camera or a SLR camera that shoots with a 35mm film. The sheer usability and form factor of these 35mm SLR cameras will allow you to carry it anywhere you go hanging by your neck without the hassle of weight and ergonomics.
Additionally, these Point and Shoot and SLR cameras are very economical to purchase for a beginner who wants to enter the world of film photography. Purchasing a TLR or Rangefinder as a first beginner camera can quickly set you back by couple of 100 Euros for just the purchase, which can be better invested in buying more film rolls for practise.
Film Rolls
A film roll is just a light sensitive analog medium that records light information on it from wherever you point your camera. In digital medium, the equivalent of it is the memory card. For the sake of this guide, to keep it simple, let’s see the most used film roll types,
Negative Film
A negative film, as the name states, stores the image information inversely as to how you see it. This means that all the lighter areas of the image are stored darkly, and darker areas of the image are stored lightly. It is very important you remember this while you practise film photography with negative film as this will help you gain the right exposure when you calculate for the highlights and shadows. Negative films are available in both black and white and colour negative films.
Slide film
A slide film, stores image information exactly the way you shot it. This is very similar to your digital camera image in the notion that what you see is what you got in the slide film. Slide film is commonly also known as E-6 film. This is because of the 6-stage film development process that is involved in it.
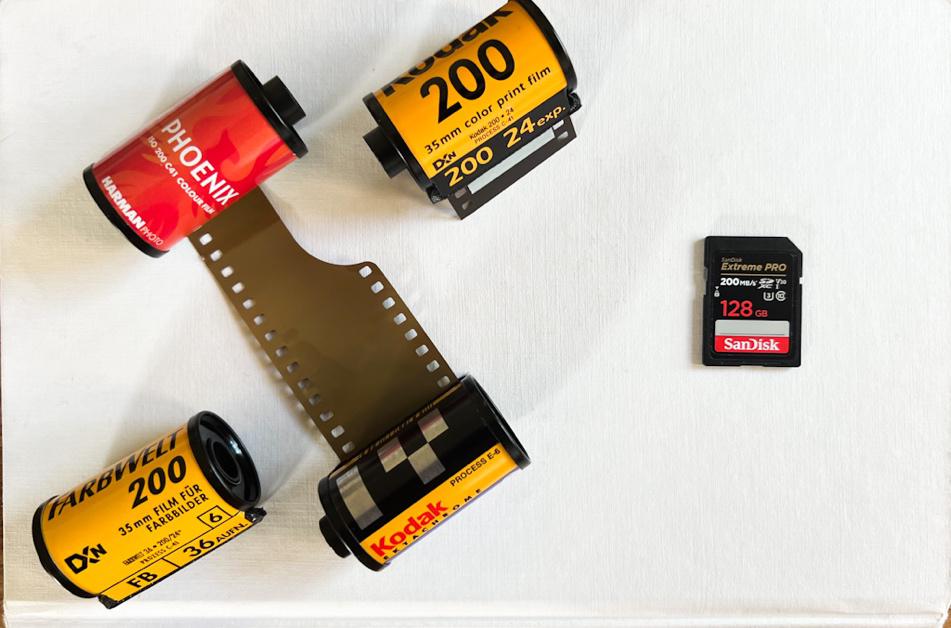
So, which one you must choose to go with as a beginner? The recommendation is any B&W negative film like the Ilford HP5+ or Kodak Tri X and in case of colour any colour negative film such as the Kodak Ultramax or Kodak Gold.
Slide films are generally very expensive to shoot with, since an average roll like the Kodak E100 costs you a full 30+ Euros. The same amount that you could get you off with 2 rolls of negative film.
Depending on the type of film roll you purchased, you will be able to take a finite number of shots with it. The most widely available 35mm film rolls allow you to take either 24 or 36 shots per film roll. With medium format film such as the 120mm you may get 8 to 15 shots depending on the format you choose with.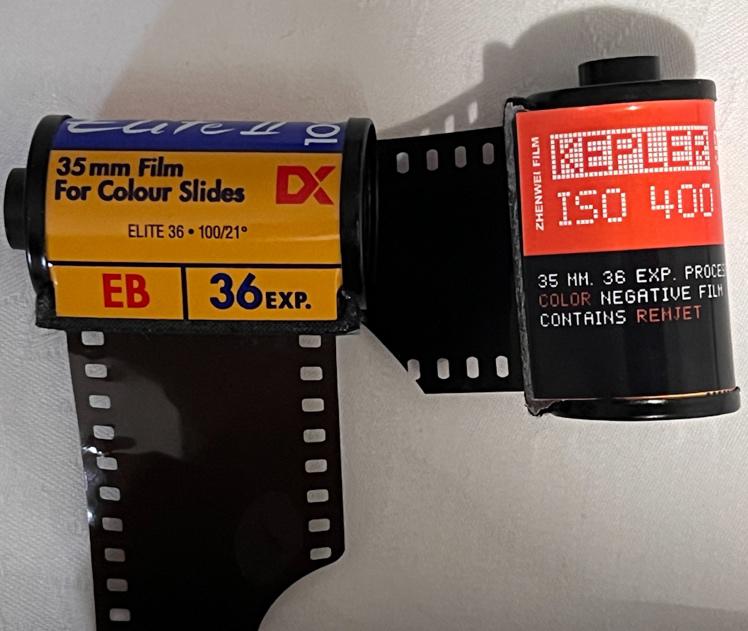
Light Meters
Another most important aspect of film photography is understanding about metering. Metering in layman terms is how your camera decides the exposure needed for the image. However, coming from digital photography, you might already be aware of such a metering setting on your digital camera but how does it differ in film photography?
The key difference is usually film cameras have one default metering mode depending on the manufacturer. And understanding what your film camera’s metering mode will help you gauge the available light and the settings you need to decide before taking the photograph.
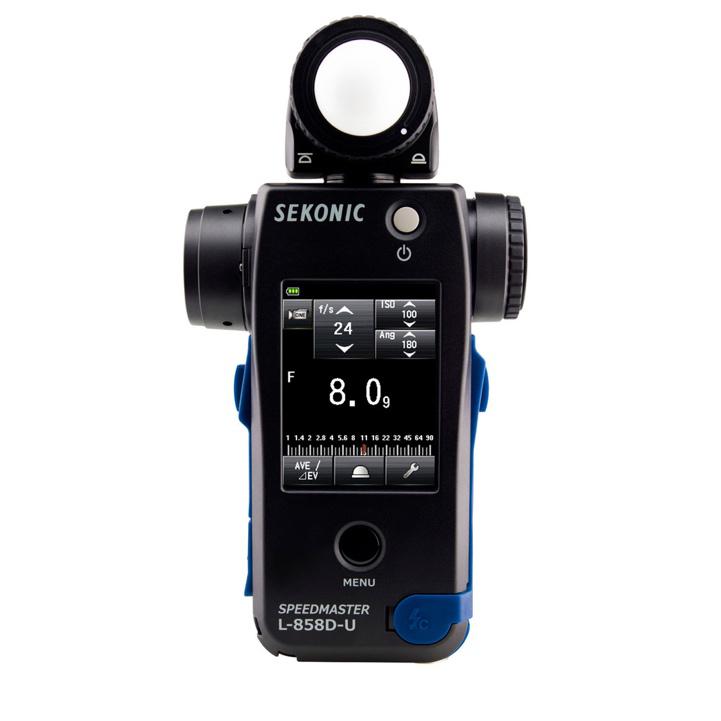
The good thing is that most 35mm SLR cameras come with their own in-built light meters. The working mechanism of these light meters can be found in the respective camera manual to understand it better.
In case your film camera does not come with an inbuilt light meter, you can also get an external light meter. This can be a mobile phone app from the App / Play store or manual external light meter device like the Sekonics.
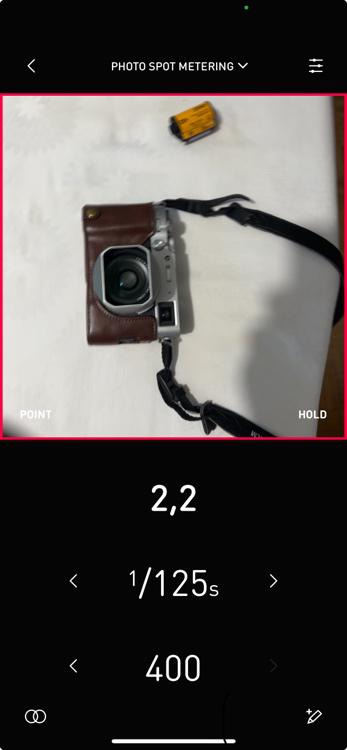
Mobile App
In this guide, it is recommended for beginners to use a mobile light meter app. Since its very user friendly and allows you to quickly meter a scene before taking a photograph. Usually with these mobile light meter apps, you take a sample photo using your mobile camera inside the app, and then the app gives you the recommended ISO, Aperture, Shutter settings that you need, for the best possible photograph outcome with the correct exposure.
Film Photography – In Practice
Alright, now that we have got the basics covered. Let’s dive straight into action:
How to shoot your first film roll using your film camera
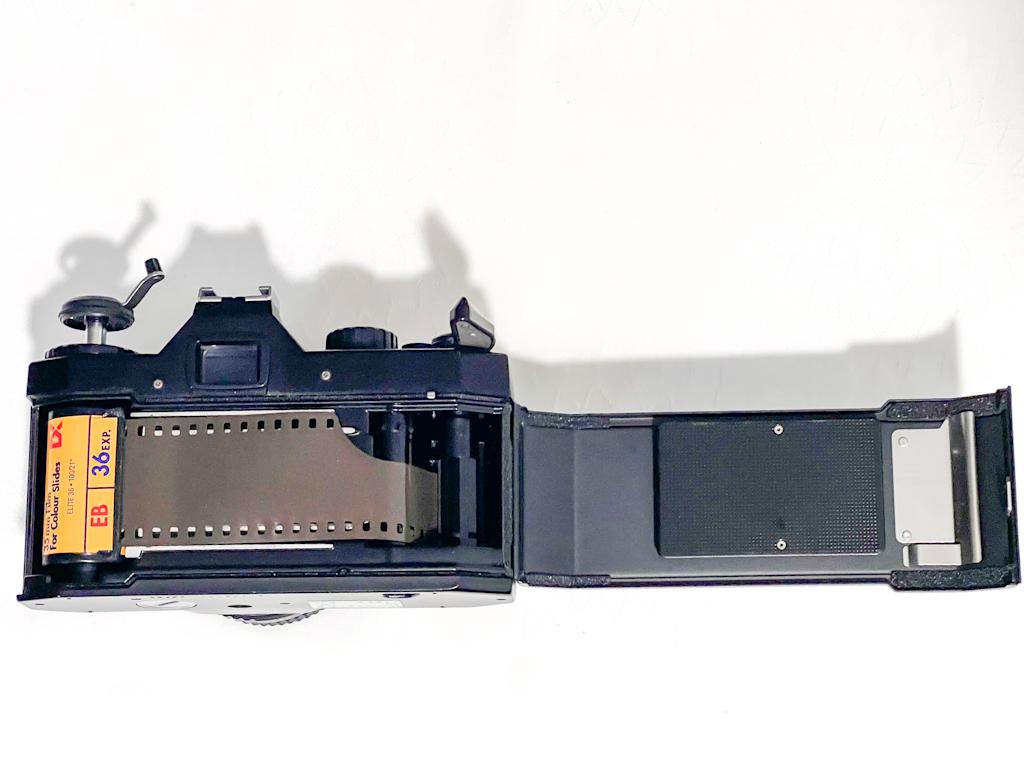
Take your film camera and load the film roll inside it. Depending on the type of the camera the film roll is usually inserted at the back of the camera or in some cameras at the bottom part of it. Here comes the most crucial and sensitive part that most first-time film photographers make a mistake. It’s called loading your film correctly and setting the stage before you close the back of your camera. Make sure the film roll is wound correctly on the rotating spool. Observe if the film rewind knob is rotating every time you forward the shutter to the next frame. If the rewind knob is rotating, then you have loaded the film correctly.
Otherwise, most likely you did not load the film correctly and it’s time to take it all out and again do the same exercise until you observe the rewind knob is rotating correctly.
Once the film is loaded correctly, point your camera towards the scene you intend to take a photo of. Remember that in film photography, it is the opposite of digital, so always remember to expose your scene for the shadows. This means point your camera to the darkest part of the scene and then adjust your setting accordingly until your internal light meter gives you a correct exposure reading. Then, when you are ready press the shutter and capture the moment.
Now, look at the back of your film camera. That’s right! You will not be able to see what you just captured, yet. Welcome to the true beauty of film photography, where you savour the moment to its fullest, sink deep into it, become a part of it and let it be etched in your core memory. 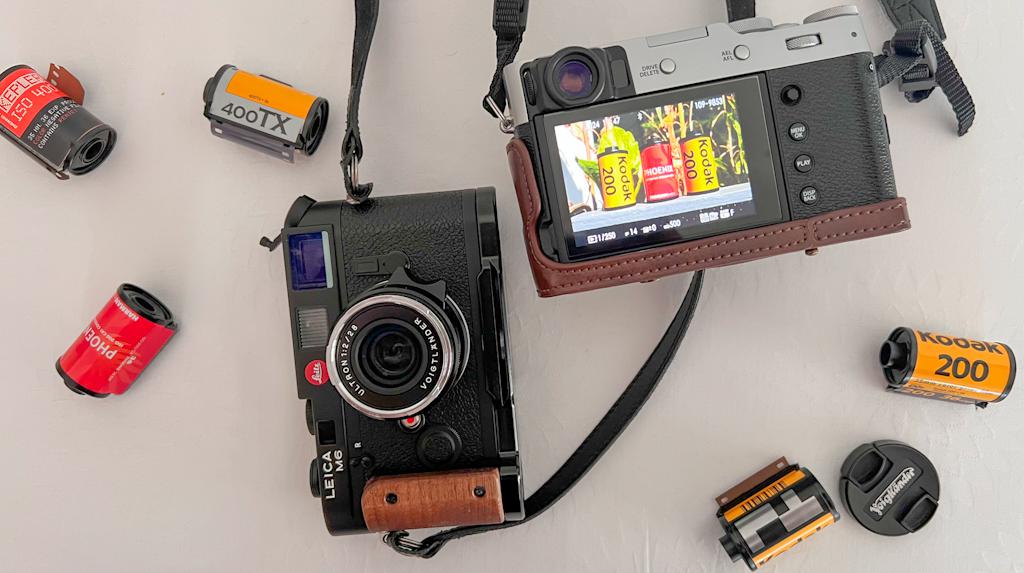
Replace the looking at the back of your camera in digital photography with this one single thing: take a note of the settings you used to capture the moment. You can either write it down in a paper and pen or in your mobile phone notes. Later, this will help you immensely when you look at your negatives after they are developed and review your photos after they are scanned to help you understand how the settings you decided resulted in the photo eventually.
Lastly, using the shutter advance lever in your film camera, move the frame to the next one to be able to take the next photograph. And that’s as simple as it gets to take your first film photograph.
Of course, there is no guaranteeing that your photographs are going to be perfectly exposed and balanced like how you are generally used to in digital medium. Plus add to that you cannot see your photograph immediately to correct your mistakes. All these are part of the film photography charm and the satisfaction that you get after waiting a few days to see the actual outcome cannot be explained in words.
After the last available frame in the film roll, your shutter advance level will no longer allow you to proceed to the next frame. When you encounter this, do not push the shutter advance harder as this will cause it to permanently damage.
Gently, press the film rewind button. Depending on the type of camera, this will be at the bottom of the baseplate or in the camera body.
Now, using the film rewind knob, rotate the film to ensure that it is wound inside the film canister. Feel the tension in the rewind knob as you rewind the film. Once the film is fully wound back into the canister, the rewind knob will start to lose its tension and become freewheeling. Depending on the camera, you may have to pull the rewind know upwards or open the baseplate to be able to open the back of the camera to take the film roll out. Always, film is light sensitive. So, unless your film is fully back into its canister, you must not in any case open the back of the camera or else your film will be exposed, and you will lose your valuable photographs.
Film Development
Film development is another aspect of film photography that can be very daunting when attempted for first time. Each film stock whether black and white or colour negative film or slide film requires different methods to develop the photograph. Film development is the process by which your film stock, after exposure, is treated with certain chemicals to produce a negative or positive image on it. Developing colour films is generally easier when compared to black and white film.
There are two main options to develop your exposed film stocks.
1. A Photo Lab
2. Home Development
For beginners of film photography, it is recommended that for your first few rolls of film that you shoot, to have them developed from your nearby photo lab. This is mainly because at the preliminary stages, it is important for you to analyse and learn from your photographs and hone your craft first. Indulging to develop your films at home by yourself can sometimes result in bad experiences making you lose your work leaving nothing.
Additionally, the chemicals that are required to home develop need proper storage and care without which they will lose their potent. Home developing films will make more economic sense when you find yourself shooting a lot of rolls each month where the cost factor offsets developing in a lab.
Reality of shooting film in 2024
As much as film photography might interest you and be exciting, it comes with itself certain caveats. Film photography is costly hobby.
Each roll of film that you buy costs you good amount of money but allows you to shoot only finite number of shots. This means, your mistakes result in wastage of time and money.
Unlike in digital, your 256gb memory card allows you to shoot 1000+ images which you can also delete if not needed to immediately correct your mistakes, film leaves you with no option. To augment this, there is also separate cost of developing and scanning your film rolls. Summing all these, one single film photograph shot in 35mm film can cost you anywhere between 1-2 Euros roughly. So, make sure you shoot your films responsibly.
Excited to get into film photography? Here is a sample of how my film roll negatives that I shot came back from the photo lab after development. Wait, What? Where are my photos? Why does the film not have any photos? I will let you think about the reason behind this :-)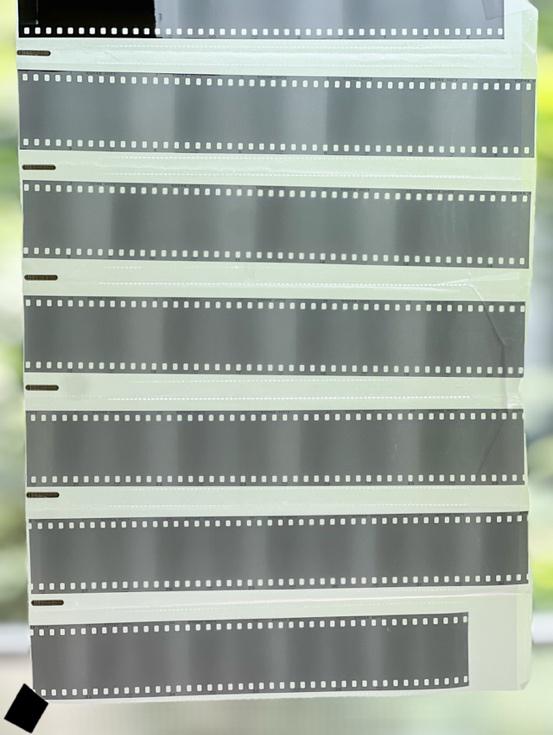
Digital photography = Shoot and then Think.
Film photography = Think and then Shoot.
By- Ramji Rangarajan (Ram)